Creating A Modern Rest API Using Express And Prisma

Prisma is a modern, open-source data access layer that provides a flexible and intuitive way to work with databases. It allows you to interact easily with your data by providing a clean, declarative API and robust tools for building complex queries. This article will explore how to set up Prisma with Express, a popular web application framework for Node.js.
If you want to see the video tutorial for this post, check it out on YouTube or scroll to the end of the article, and you will find it there.
Prerequisites
There are a few things that you will need to get started with this. You will need the following:
- Docker image containing a Postgres database, OR
- A Postgres database locally, OR
- A Postgres database from a cloud provider
- NodeJS Installed
Setting Up Prisma and Node
To get started, you must have Node.js and npm (or yarn) installed on your machine. You can check if you have these installed by running the following commands in your terminal:
node -v
npm -v
If you don't have these installed, you can follow the instructions on the Node.js website to install them.
Next, we will create a new Express project. You can do this by running the following command:
npm init express-app my-app
This will create a new directory called my-app and install all of the necessary dependencies for an Express app.
Create a .env file in the root of your directory if you don't have one, and add the following, replacing the value with your database URL:
DATABASE_URL="postgresql://johndoe:randompassword@localhost:5432/mydb?schema=public"If using docker, run the following command to start the Postgres instance:
docker run --name demo -p 5455:5432 -e POSTGRES_USER=postgresUser -e POSTGRES_PASSWORD=postgresPW -e POSTGRES_DB=postgresDB -d postgresOnce your project is created and the database set up, navigate to the directory and install the Prisma client by running the following command:
npm install prisma @prisma/client
After installing the required dependencies, the next task is to initiate Prisma in this project. To do that, run the following command:
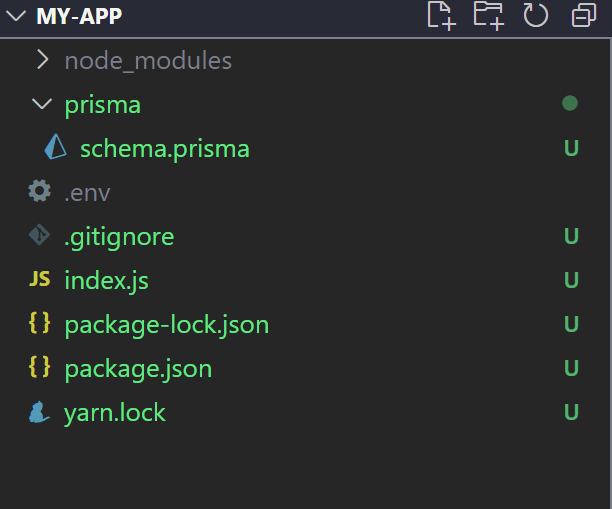
npx prisma initOnce you have done this, you will notice a prisma folder has been created with a schema.prisma file inside.
Next, we will need to define our data schema. This is a declarative way of defining the shape of your data, including the types of data that can be stored and the relationships between different data types. You can do this by creating a file called schema.prisma in the root of your project and add the following code:
datasource db {
  provider = "postgresql"
  url      = env("DATABASE_URL")
}

generator client {
  provider = "prisma-client-js"
}

model User {
  id        Int     @default(autoincrement()) @id
  email     String  @unique
  name      String
  posts     Post[]
}

model Post {
  id       Int     @default(autoincrement()) @id
  title    String
  content  String
  author   User?   @relation(fields: [authorId], references: [id])
  authorId Int
}
This defines a User model with fields for name, email, and password, as well as a Post a model with fields for title, content, and a relationship to the User model.
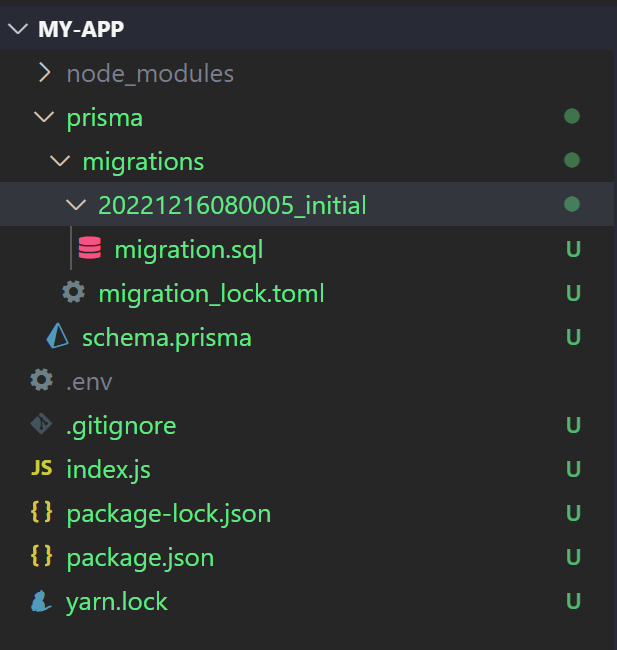
We now need to create the tables in our database. To do this, we can use prisma's migrate command. This will create a migrations folder where all migrations files will live.
npx prisma migrate devYou will be prompted with the following question:
- Enter a name for the new migration: initial (This Doesn't matter you can set anything here)
After running this, you will see the migrations script created, and your database tables will now have been created.
Next, we need to generate the Prisma client that we will use to interact with our database. You can do this by running the following command:
npx prisma generateAfter generating the Prisma client, you can initialize it by importing it into your Express app and providing the path to your schema file like this:
const { PrismaClient } = require('@prisma/client')
const prisma = new PrismaClient()
With the Prisma client initialized, you can now start using it to query and mutate your data. For example, you can create a new user by using the create method, like this:
await prisma.user.create({
 data: {
   name: 'Jane Doe',
   email: 'jane.doe@gmail.com',
 }
})
Or you can fetch all users with the findMany method:
const users = await prisma.user.findMany()You can also use Prisma's query language Prisma Client, to build more complex queries. For example, you can use the $fragment method to fetch only specific fields from your data, like this:
const users = await prisma.user.findMany({
  select: {
    name: true,
    email: true
  }
})
Or you can use the $join method to include data from related models in your query, like this:
const users = await prisma.user.findMany({ include: { posts: true } })Creating a Seed script
A seed script is used to populate the database with initial data. This can be useful for testing or for providing some initial data for the application to use. The seed script is typically a JavaScript file containing instructions for inserting data into the database. This data is inserted when the script is run, either manually or automatically, as part of the application's deployment process.
With that being said, here is a seed script for our project. This will create three users and posts, so we have something to work with.
Inside your prisma folder, create a new file called seed.ts and then use the following code:
import { PrismaClient } = '@prisma/client'

const prisma = new PrismaClient()

const main = async () => {
  // Create 3 users
  const users = await prisma.user.createMany({
    data: [
      {
        name: 'Jane Doe'
      },
      {
        name: 'James Burton'
      },
      {
      	name: 'James Bond'
      }
    ]
  })


  // Create 3 posts, one for each user. You can also use create many here like above.
  const post1 = await prisma.post.create({
    data: {
      title: 'My first post',
      content: 'This is the content of my first post',
      author: {
        connect: {
          id: users[0].id
        }
      }
    }
  })
  const post2 = await prisma.post.create({
    data: {
      title: 'My first post',
      content: 'This is the content of my first post',
      author: {
        connect: {
          id: users[1].id
        }
      }
    }
  })
💡 TIP: In production, you never want to import prisma like above in every file that you use it as this would create too many connections and cause memory leaks plus a bunch of errors. Instead you should create one singleton that you can use everywhere. Take a look at the official documentation to see more on this.
Setting Up Express
For this tutorial, we are going to keep it simple so that we use the index.js file that was created when setting up the project. We will also install nodemon to have the server listen for changes.
We will need to comment out the error handlers for now, too so that we have a simple application to work with.
// Error handlers
// app.use(function fourOhFourHandler (req, res) {
//   res.status(404).send()
// })
// app.use(function fiveHundredHandler (err, req, res, next) {
//   console.error(err)
//   res.status(500).send()
// })
Run the following in a terminal:
yarn add nodemonNext, add the following line of code the scripts section of the package.json file.
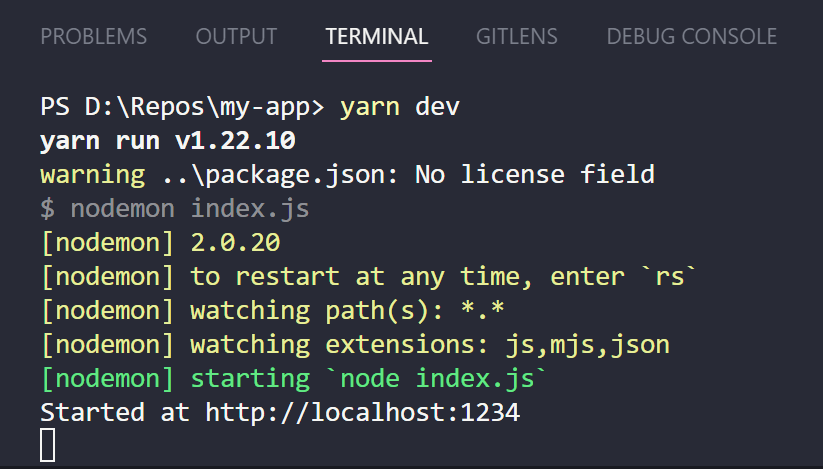
"dev": "nodemon index.js"After doing this, run yarn dev in the terminal window and the server will start up on port 1234 and can be accessed by http://localhost:1234.
The last thing you will need to do to setup express to use with Prisma is add body-parser middleware so that the JSON data is parsed correctly.
yarn add body-parserAfter doing this, you can import it at the top of the index.js file.
import bodyparser from 'body-parser'and then use it using the app.use function.
app.use(bodyparser.json())Creating CRUD endpoints
CRUD stands for Create, Read, Update, and Delete. These are the four essential functions of persistent storage, which is a way of storing data so that it can be accessed at a later time. In the context of an API (Application Programming Interface)
If this were an app intended for production, we would want to create a folder structure consisting of routes, controllers, etc.; however, for this tutorial, we will not, as I am just trying to show you how to use Prisma and express together.
Add the Prisma client to the top of the index.js file.
import { PrismaClient } from '@prisma/client'Create
Let's create the first endpoint that allows us to create a post. This endpoint will accept data that contains a userId, titleand content. We will then need to add the following code to create the endpoint:
app.post('/post/create', async (req, res) => {

  const { data } = req.body;
  const prisma = new PrismaClient();

  try {
    const post = await prisma.post.create({
      data: {
        title: data.title,
        content: data.content,
        author: {
          connect: {
            id: data.userId
          }
        }
      },
    })

    res.status(200).json(post)
  } catch (e) {
    console.log(e)
    res.status(500).json(e)
  }

  prisma.$disconnect();
})
So what is happening here? Well, we are first restructuring the object to get the data from the request, then initialising Prisma to work with it; on line 4, we are creating the connection to the database.
Then, inside the try catch block, we are creating the post and sending the created post back in response with a status code of 200. If the request fails, we send the error message back. We then disconnect from Prisma on line 25.
As you can see above, Prisma makes it very easy to interact with a database and provides an intuitive and straightforward interface that allows you to interact with little effort.
Read
Reading is also as simple as above. We have to write the following code:
app.get('/posts', async (req, res) => {
  try {
    const prisma = new PrismaClient();
    const posts = await prisma.post.findMany({})

    res.status(200).json(posts)

  } catch (e) {
    console.log(e)
    res.status(500).json(e)
  }
})
This endpoint will fetch all the posts in the database and return the response.
If you want to read a single post, you can do the same as above, with several differences.
Firstly, you would need to create a route that accepts a param called id that we can use to find an individual post.
app.get('/posts/:id', async (req, res) => {
  try {
    const id = req.params.id;
    const prisma = new PrismaClient();
    const post = await prisma.post.findFirst({
      where: {
        id: parseInt(id)
      }
    })

    res.status(200).json(post)

  } catch (e) {
    console.log(e)
    res.status(500).json(e)
  }
})
As you can see, we can use Prisma's findFirst method to fetch a post that id is the same as what we have parsed in the request. There are other cool features that you can utilise here, such as select, take, orderBy And a bunch of other useful options that help you build beneficial database interactions. You can learn more by checking out Prisma's documentation on this.
Update
Let's create an update endpoint for our posts API. To do this, we are going to create another post endpoint on the server with the URL of /posts/update. The data object that this endpoint receives will look like the following:
{
    "data": {
        "postId": 2,
        "post": {
            "title": "A cool ass post",
            "content": "Some different content"
        }
    }
}
We will then write the following code to handle this object:
app.post('/posts/update', async (req, res) => {
  const { data } = req.body;
  const prisma = new PrismaClient();

  try {

    // This will update the post with any new values
    const post = await prisma.post.update({
      where: {
        id: data.postId
      },
      data: {
        ...data.post
      }
    })


    res.status(200).json(post)

  } catch (e) {
    console.log(e)
    res.status(500).json(e)
  }

})
The code above uses the ID of the post to update the post object. The cool thing here is that Prisma will only update the values that you provide. So if you wanted to, you could parse a single value that you want to update, for example:
{
    "data": {
        "postId": 2,
        "post": {
            "title": "A cool ass post",
        }
    }
}
Here, I want to update the title of the post.
Delete
Finally, let's create the delete endpoint for those spam posts and useless memes people create.
app.delete('/posts/delete/:id', async (req, res) => {
  const id = req.params.id;
  const prisma = new PrismaClient();

  try {
    const post = await prisma.post.delete({
      where: {
        id: parseInt(id)
      }
    })

    res.status(200).json(post)

  } catch (e) {
    console.log(e)
    res.status(500).json(e)
  }
})
The above code utilises Prisma's delete method, allowing you to remove an entry in a table quickly. Here we are using it by parsing a post we wish to delete.
The endpoint then sends back the deleted post. In a real app, you probably would want to add some kind of property to your response to indicate that it was deleted successfully, but for now, this will do.
Testing the endpoints using Postman
To test that our endpoints work, we can use postman to create mock requests to our API effectively. Let's start by creating a post request that creates a post inside the database.
Set the HTTP method to POST and add the following URL.
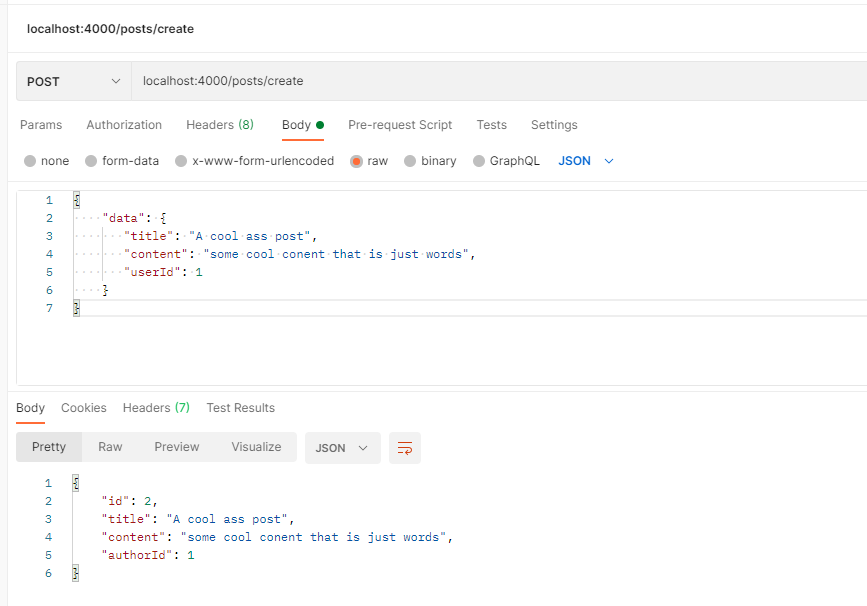
http://localhost:4000/posts/createNext, add the following body:
{
    "data": {
       "title": "A cool post",
       "content": "some cool conent",
       "userId": 1
    }
}
The user id will match one of the users that you created earlier by running the seed script.
After setting up, your postman should look like the screenshot below. Once configured, you can click send; it should create the post and return it, as seen below.
Now you can do the same for the other endpoints and check if they work too.
Prisma and the job market
Prisma's popularity over the last five years has picked up the pace, with tons of start-ups using it to quickly get projects off the ground and into production.
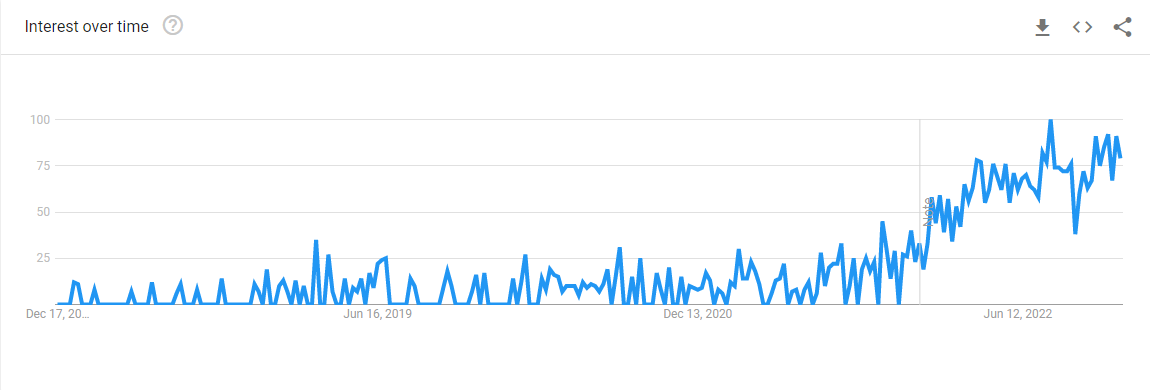
It is becoming increasingly common to see Prisma on many Fullstack Javascript job descriptions because of its versatility, flexibility and support. Moreover, it can become a very scalable and robust toolset when utilised alongside a cloud Postgres provider.
According to our research, the average salary range for jobs that include Prima in the job description is $65,000 - $130,000 per year.
Conclusion
There are many more features and capabilities of Prisma, including support for transactions, pagination, and subscriptions. You can learn more about these and other features in the Prisma documentation.
In conclusion, setting up Prisma with Express is a straightforward process that can benefit your application. Prisma simplifies working with your data by using a declarative API and powerful query tools and allows you to focus on building your application.